ABOUT US
At OzDecalz, we're all about helping riders and drivers express their style with premium custom vinyl decalz. Designed and produced right here in Australia, our decalz are built to withstand harsh Aussie conditions while looking bold and fresh.
Whether you're wrapping your Cardo, customizing your bike, or adding personality to your car, we've got you covered.
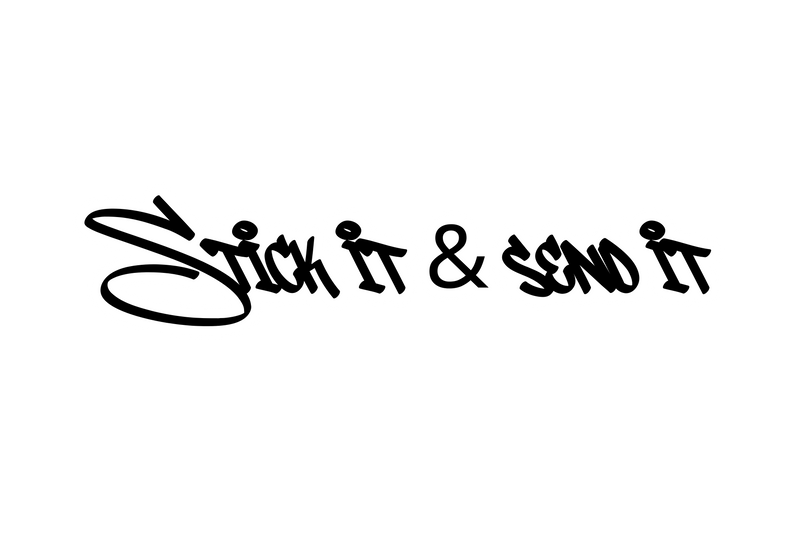
Stick It & Send It
AUSTRALIAN-MADE QUALITY
We take pride in producing every decal locally in Australia. Our premium vinyl is weather-resistant, UV-protected, and built to last through sun, rain, and everything in between. When you buy from OzDecalz, you're supporting Australian manufacturing and getting quality that shows.
CUSTOM DESIGNS, BOLD STYLE
From Cardo skin wraps to motorcycle decalz, car stickers, and wall art, we offer designs that match automotive and motorcycle culture. We're constantly launching new themed collections - from JDM and nightlife to memes and seasonal drops - so there's always something fresh to discover.
GET IN TOUCH
Got questions or need a custom design? We're here to help.
📧 Email: Sales@ozdecalz.com
💬 Live Chat: Available
